Railway
Run OpenClaw on Railway with the open-source ControlClaw firewall as its proxy. Two services, a private network, and every request OpenClaw makes in the firewall's log.
On Railway the firewall is OpenClaw's proxy, not its only way out. OpenClaw's own requests go through it, get logged and follow its rules. But a shell command or a script that ignores the proxy goes straight to the internet, and OpenClaw can change its own proxy setting. Railway doesn't let a service set its own packet filter, so nothing can close that gap here. To make the firewall the only way out, use a plain server or a Compose platform instead.
This guide runs two services in one Railway project: the ControlClaw firewall and OpenClaw. They talk over Railway's private network. The firewall is a service of its own, so later you can point more OpenClaw services at it and see the traffic and rules of all of them in one panel.
What you need
- A Railway account. Both services use a volume, which Railway bills by usage.
- An API key for OpenClaw's model, such as Anthropic, OpenAI or OpenRouter.
Part 1: the firewall
Create the service
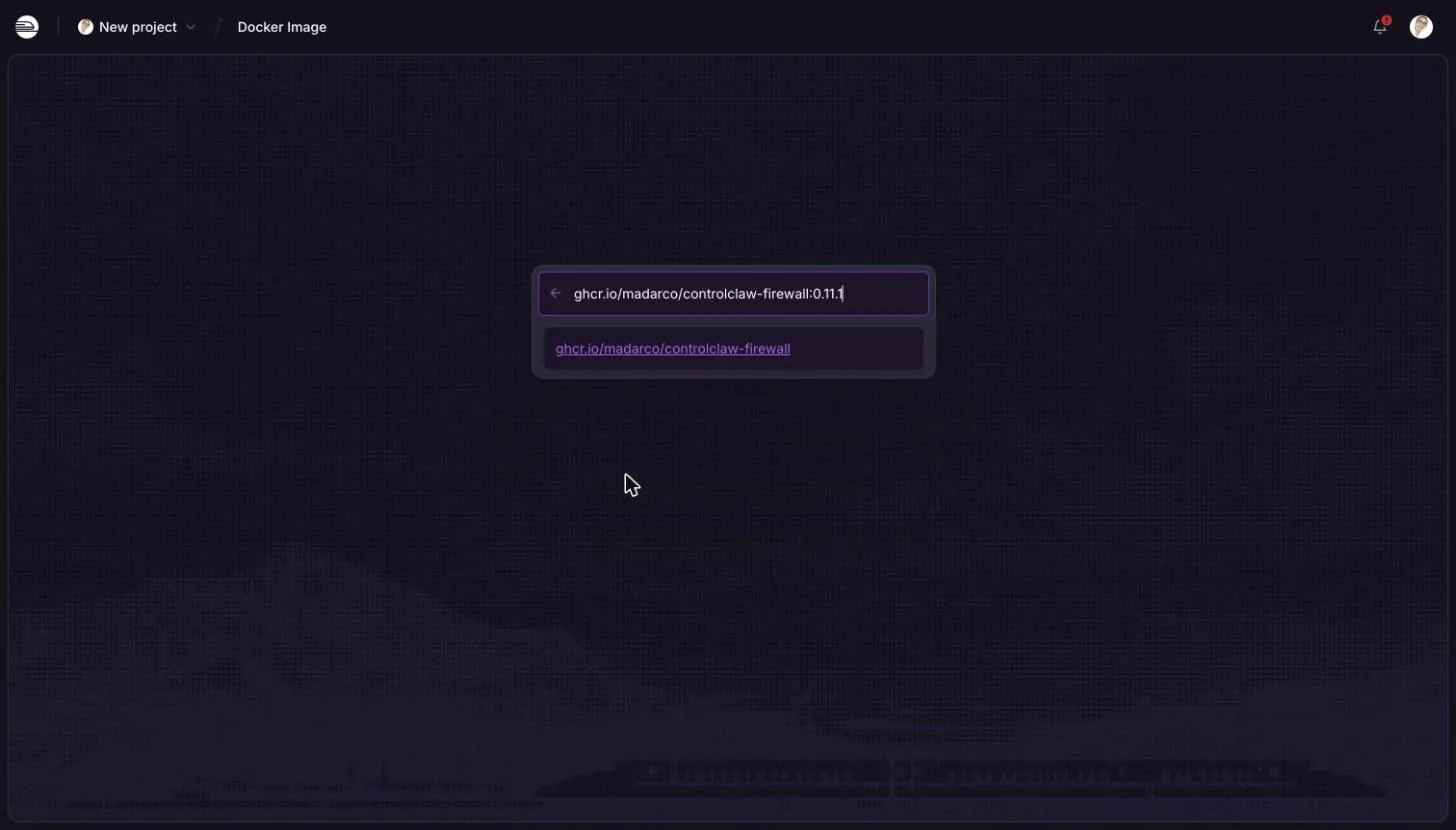
In a new project, click Add, choose Docker Image and enter:
ghcr.io/madarco/controlclaw-firewall:0.11.1Rename the service to controlclaw-firewall. OpenClaw finds it by that name.
Add a volume
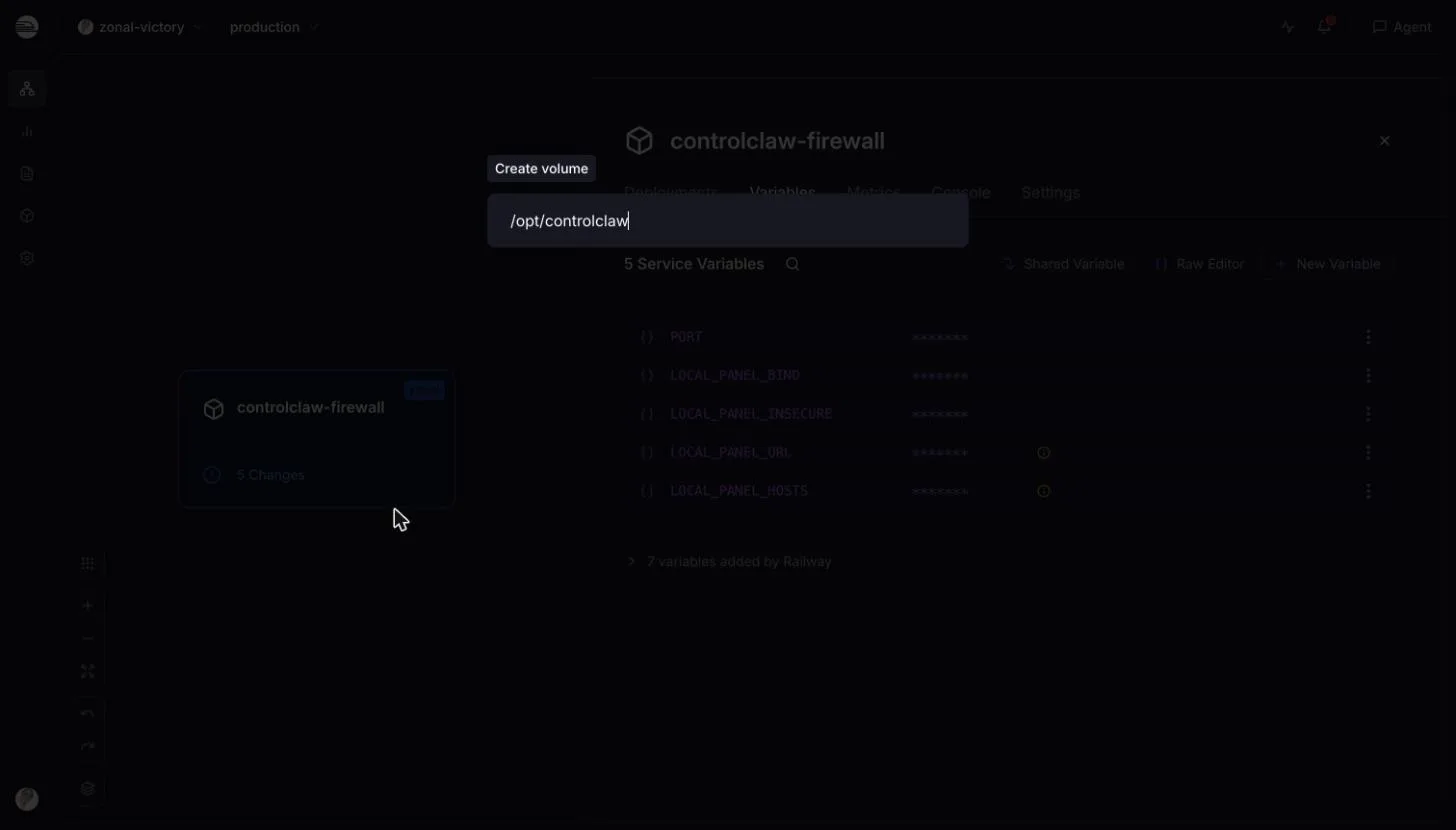
Right-click the service and choose Attach volume. Mount it on /opt/controlclaw. It keeps the
firewall's certificate authority, its rules and its secrets across deploys.
Set the variables
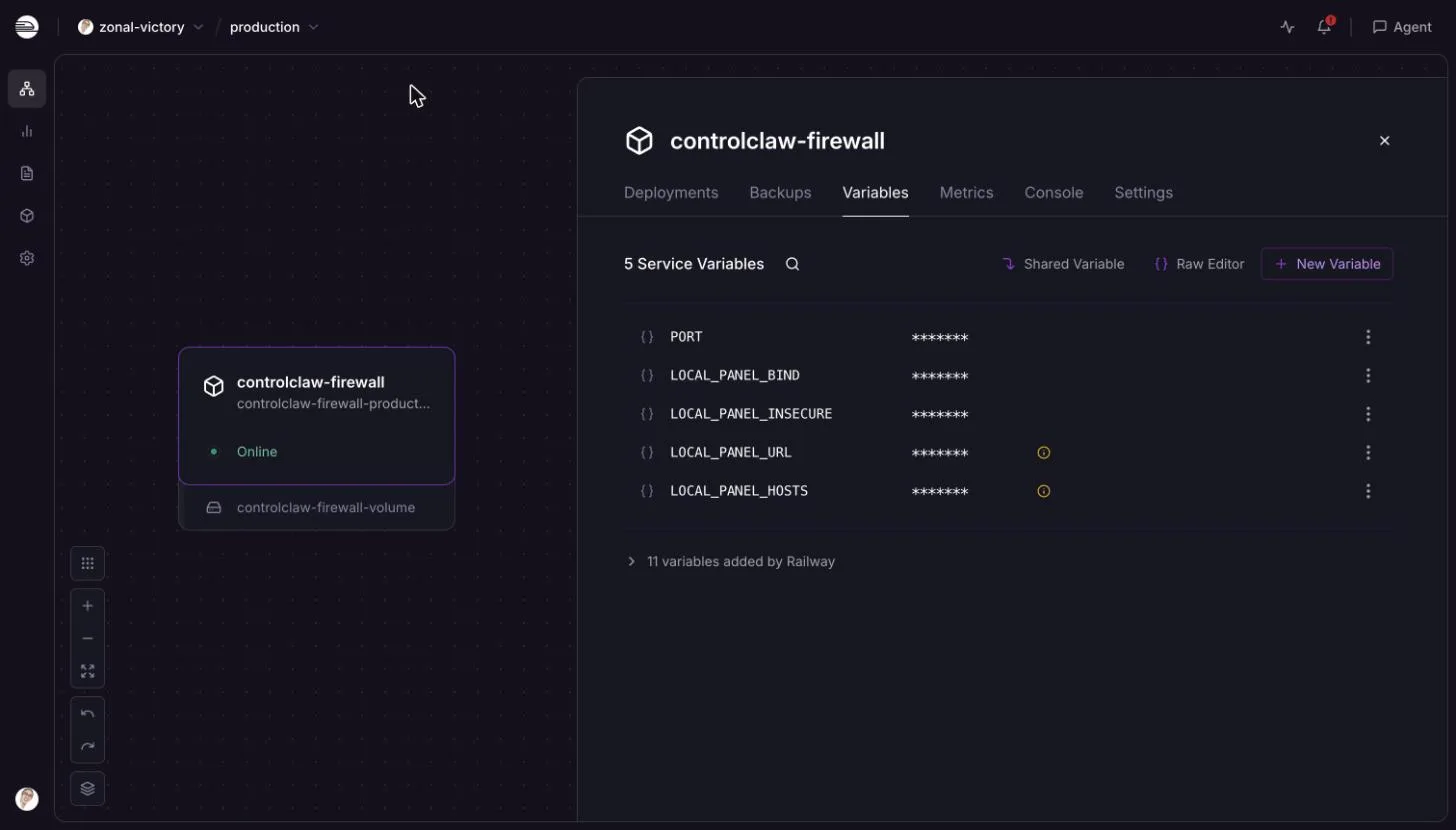
Open Variables, click Raw Editor and paste:
LOCAL_PANEL_BIND=0.0.0.0:8800
LOCAL_PANEL_INSECURE=1
LOCAL_PANEL_URL=https://${{RAILWAY_PUBLIC_DOMAIN}}
LOCAL_PANEL_HOSTS=${{RAILWAY_PUBLIC_DOMAIN}}
PORT=3910
The panel listens on port 8800 and answers only under the service's public domain. Railway sets
PORT for every service, and one of the firewall's own processes reads it: PORT=3910 gives that
process the port it expects. Without it, the firewall stops at start with EADDRINUSE.
Give the panel a domain
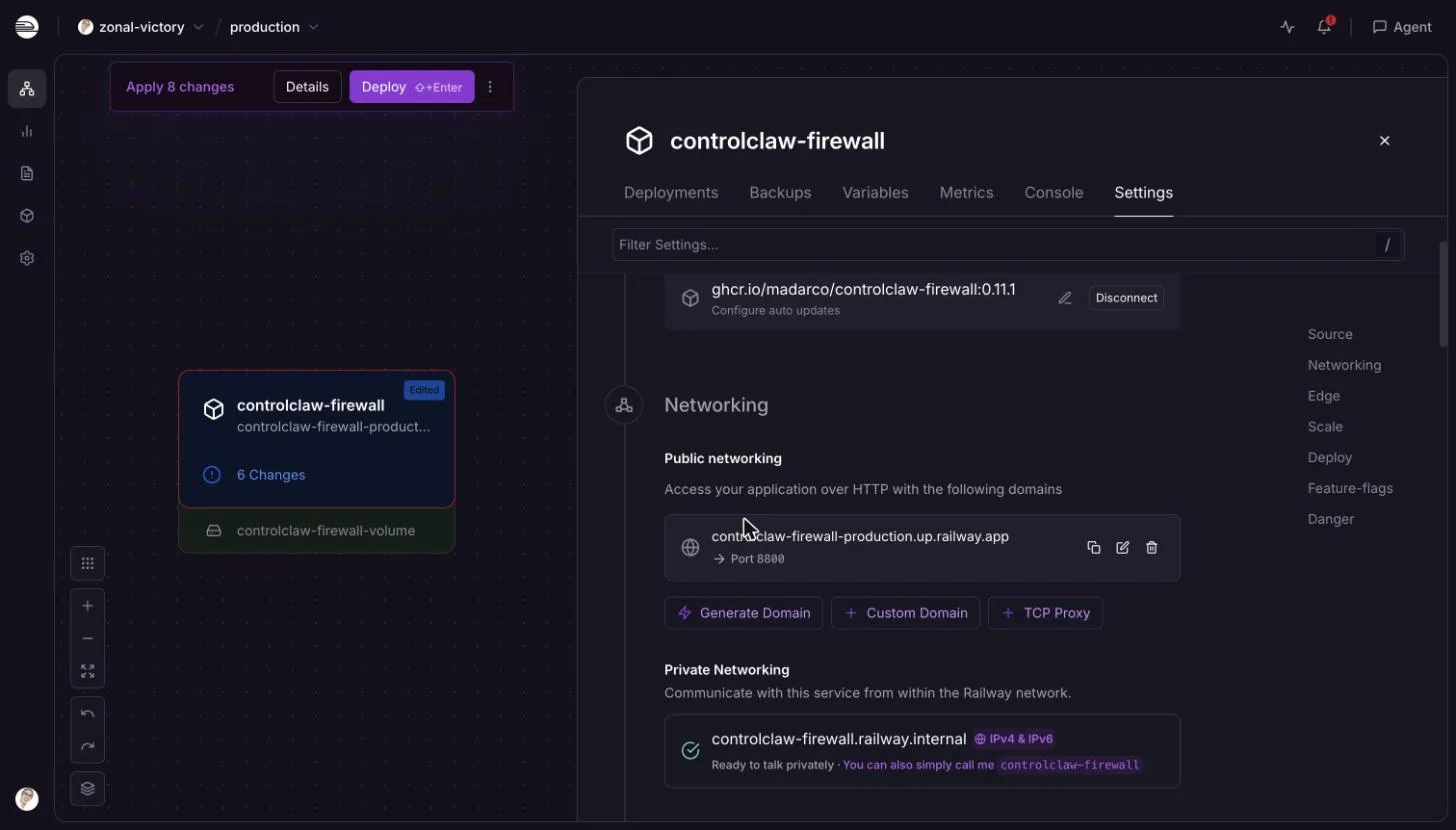
Under Settings, Networking, click Generate Domain and set the port to 8800. Check that
the private network shows IPv4 & IPv6: the firewall's proxy listens on IPv4.
Click Deploy.
Set the panel's password
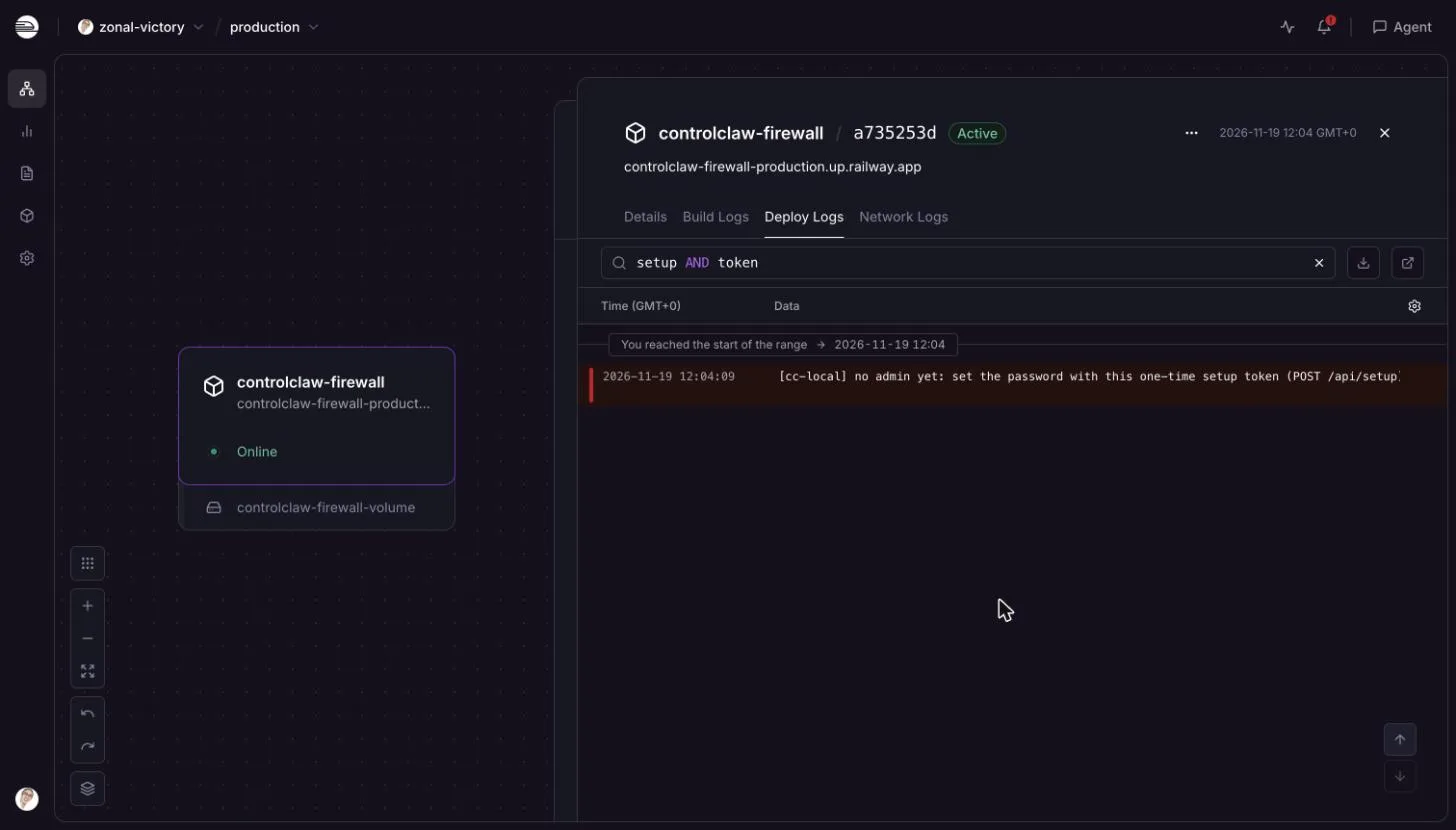
Open the service's deploy logs and search for setup token. Open the public domain, paste the
token and set the admin password right away: until you do, anyone who can read the log can set it.
Copy the firewall's certificate
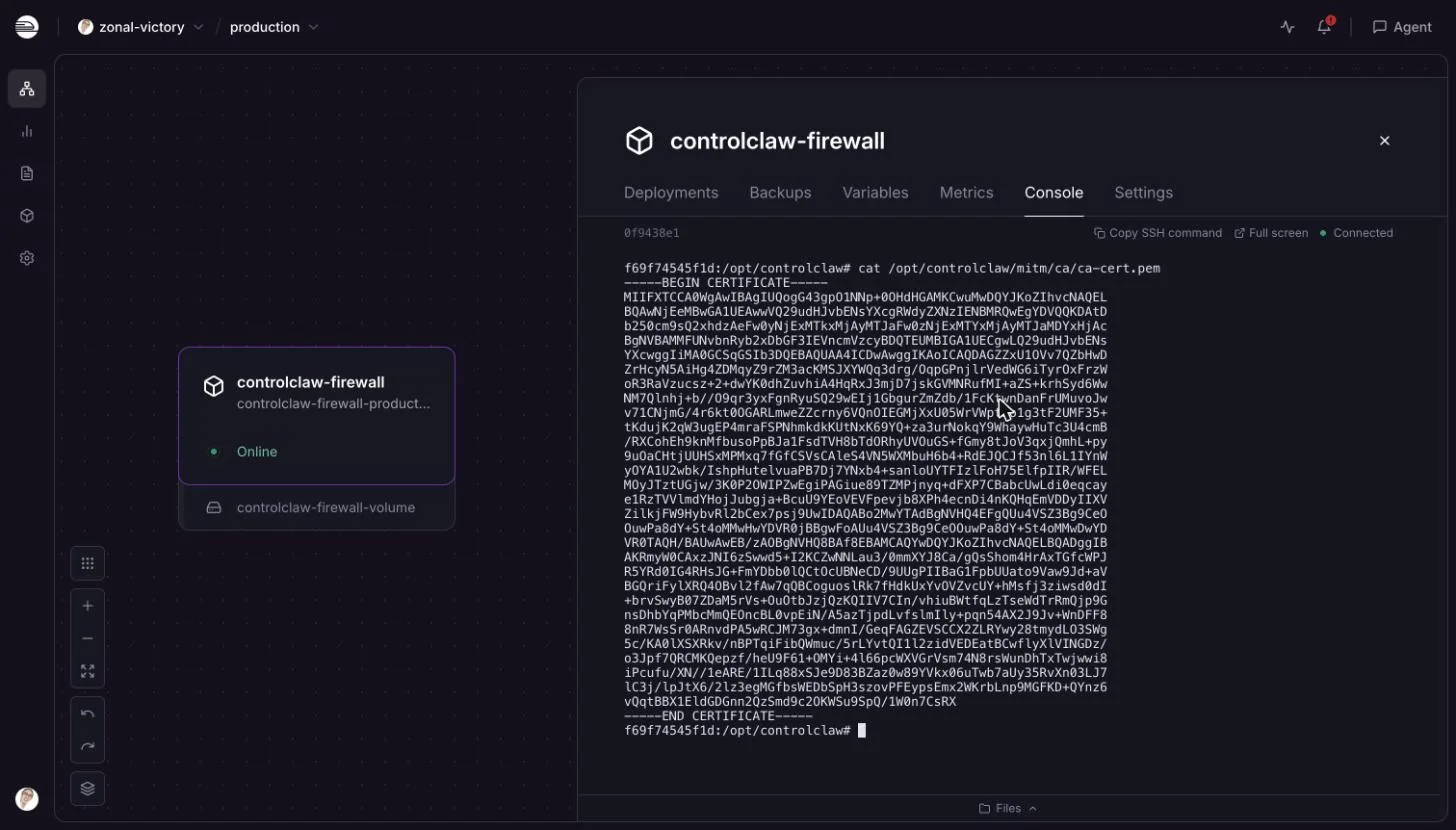
The firewall reads OpenClaw's encrypted traffic, so OpenClaw has to trust the firewall's certificate authority. Open the firewall's Console tab and print its certificate:
cat /opt/controlclaw/mitm/ca/ca-cert.pemCopy everything from -----BEGIN CERTIFICATE----- to -----END CERTIFICATE-----. This is the
public certificate only; the key stays on the firewall.
Part 2: OpenClaw
Create the service
Click Add, choose Docker Image and enter OpenClaw's image, for example
ghcr.io/openclaw/openclaw:2026.11.5. Rename the service to openclaw.
Add a volume
Attach a volume on /home/node/.openclaw. It keeps OpenClaw's settings, sessions and workspace.
Set the variables
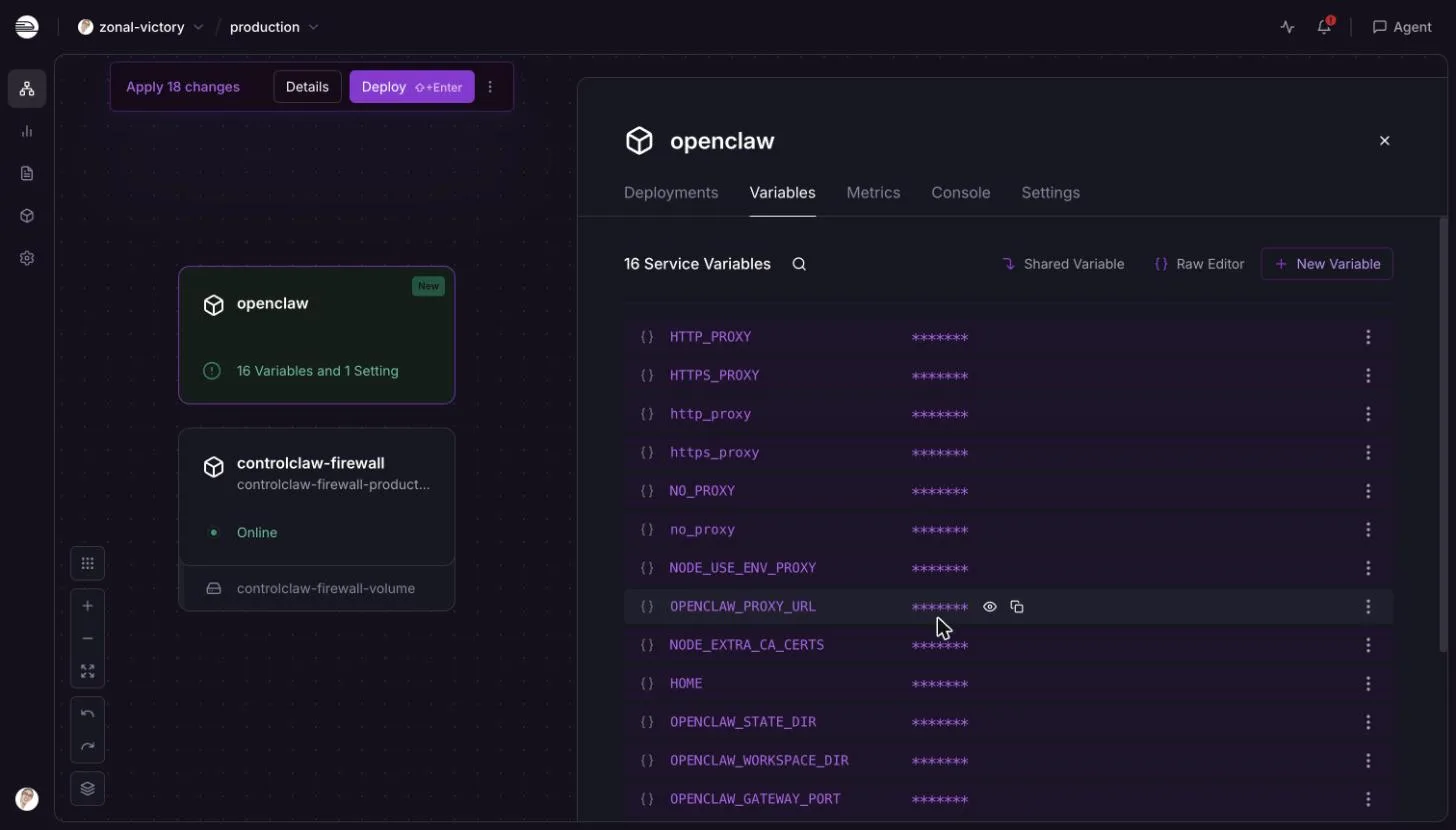
Open Variables, Raw Editor, and paste the block below. Replace the token with your own
(for example the output of openssl rand -hex 32) and paste the certificate from Part 1 between
the quotes.
HTTP_PROXY=http://controlclaw-firewall.railway.internal:8080
HTTPS_PROXY=http://controlclaw-firewall.railway.internal:8080
http_proxy=http://controlclaw-firewall.railway.internal:8080
https_proxy=http://controlclaw-firewall.railway.internal:8080
NO_PROXY=localhost,127.0.0.1,::1
no_proxy=localhost,127.0.0.1,::1
NODE_USE_ENV_PROXY=1
OPENCLAW_PROXY_URL=http://controlclaw-firewall.railway.internal:8080
NODE_EXTRA_CA_CERTS=/tmp/controlclaw-ca.crt
HOME=/home/node
OPENCLAW_STATE_DIR=/home/node/.openclaw
OPENCLAW_WORKSPACE_DIR=/home/node/.openclaw/workspace
OPENCLAW_GATEWAY_PORT=18789
PORT=18789
RAILWAY_RUN_UID=0
OPENCLAW_GATEWAY_TOKEN=<gateway_token>
OPENCLAW_CONFIG_SEED='{"gateway":{"trustedProxies":["100.64.0.0/10"],"controlUi":{"allowedOrigins":["https://${{RAILWAY_PUBLIC_DOMAIN}}"]}}}'
CONTROLCLAW_CA="-----BEGIN CERTIFICATE-----
...
-----END CERTIFICATE-----"
What they do:
- The proxy variables send OpenClaw's requests through the firewall.
NODE_EXTRA_CA_CERTSmakes OpenClaw trust the firewall's certificate, which the start command writes fromCONTROLCLAW_CA.RAILWAY_RUN_UID=0lets OpenClaw write to the volume, which Railway mounts as root.OPENCLAW_CONFIG_SEEDis OpenClaw's first config. Railway's edge reaches the service from100.64.0.0/10; without these two settings, the Control UI refuses every request withproxy_attribution_required.
Set the start command
Under Settings, Deploy, set Custom Start Command to:
sh -c 'printf "%s\n" "$CONTROLCLAW_CA" > /tmp/controlclaw-ca.crt; mkdir -p "$OPENCLAW_STATE_DIR"; [ -f "$OPENCLAW_STATE_DIR/openclaw.json" ] || printf "%s" "$OPENCLAW_CONFIG_SEED" > "$OPENCLAW_STATE_DIR/openclaw.json"; exec node dist/index.js gateway --bind lan --port 18789 --allow-unconfigured'It writes the certificate, writes the first config if there's none yet, and starts OpenClaw's gateway.
Give OpenClaw a domain and deploy
Under Networking, click Generate Domain (port 18789), then Deploy. The log ends with
[gateway] ready, and an earlier line says routing process HTTP traffic through external proxy.
Check the traffic
Open the openclaw service's Console and send a request through the firewall:
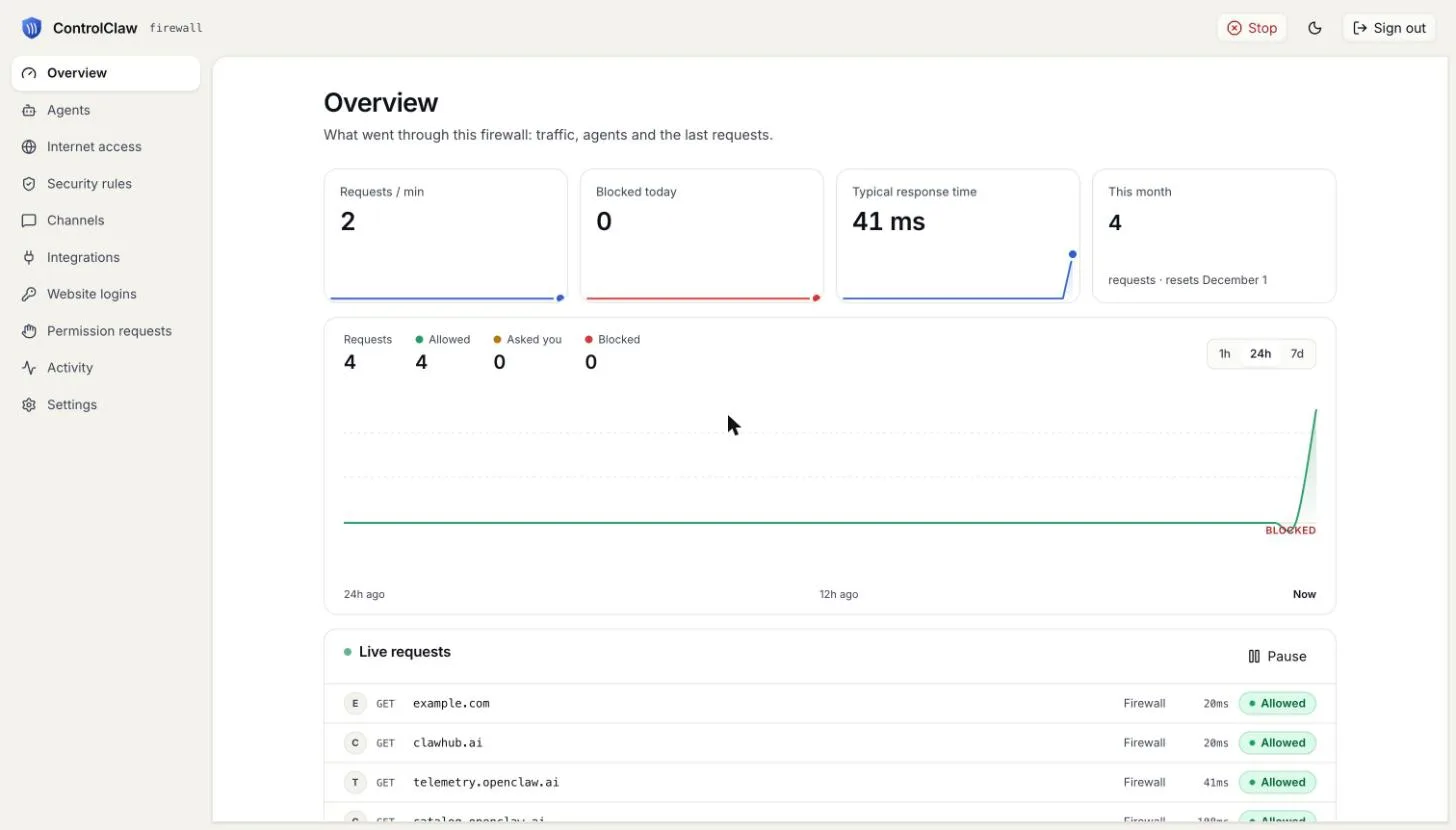
node -e "fetch('https://example.com').then(r => console.log(r.status))"It prints 200, and the request shows in the panel with OpenClaw's own requests.
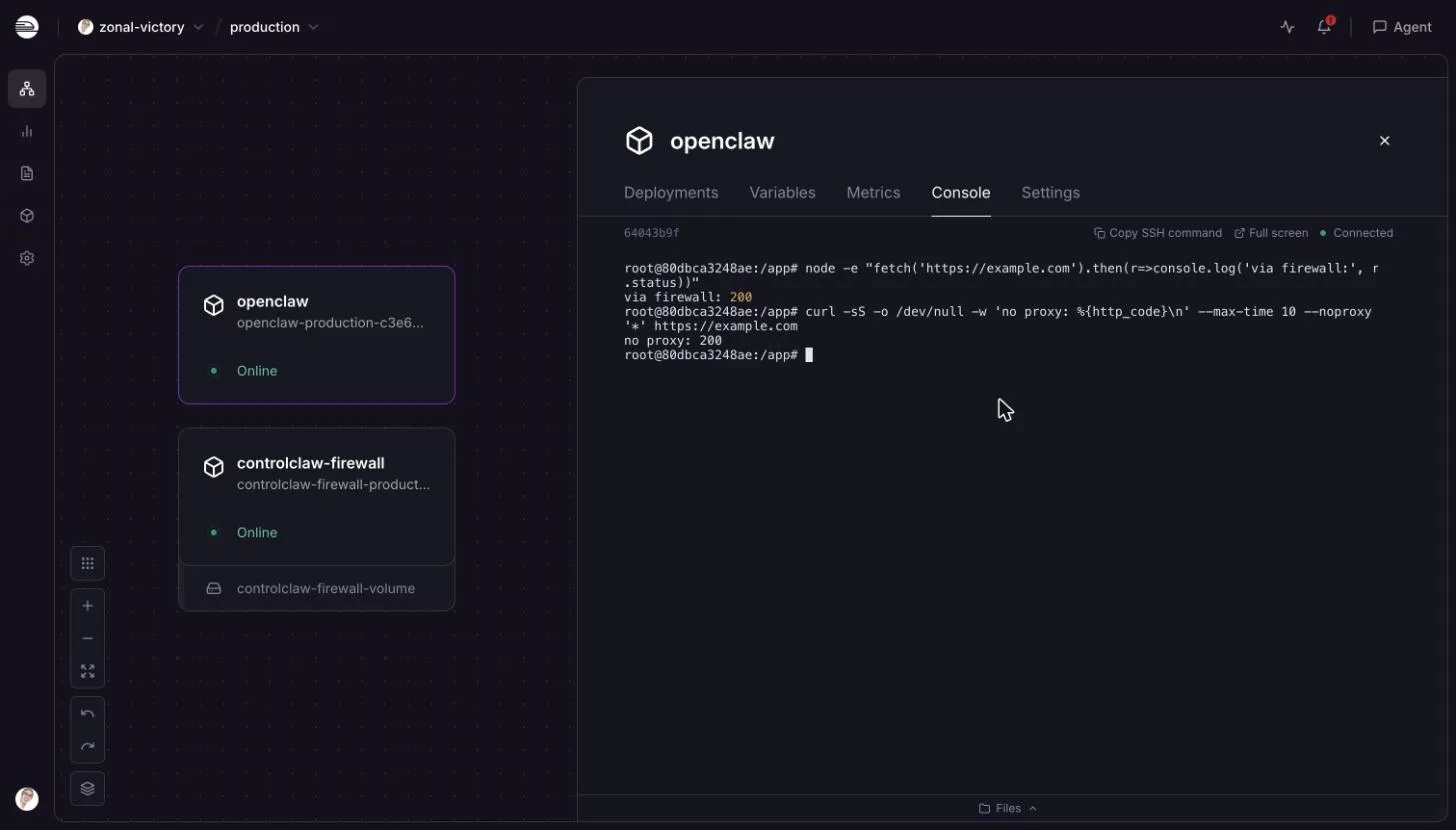
The screenshot also shows the limit of this setup: curl --noproxy '*' skips the firewall and
still gets an answer.
Open the Control UI
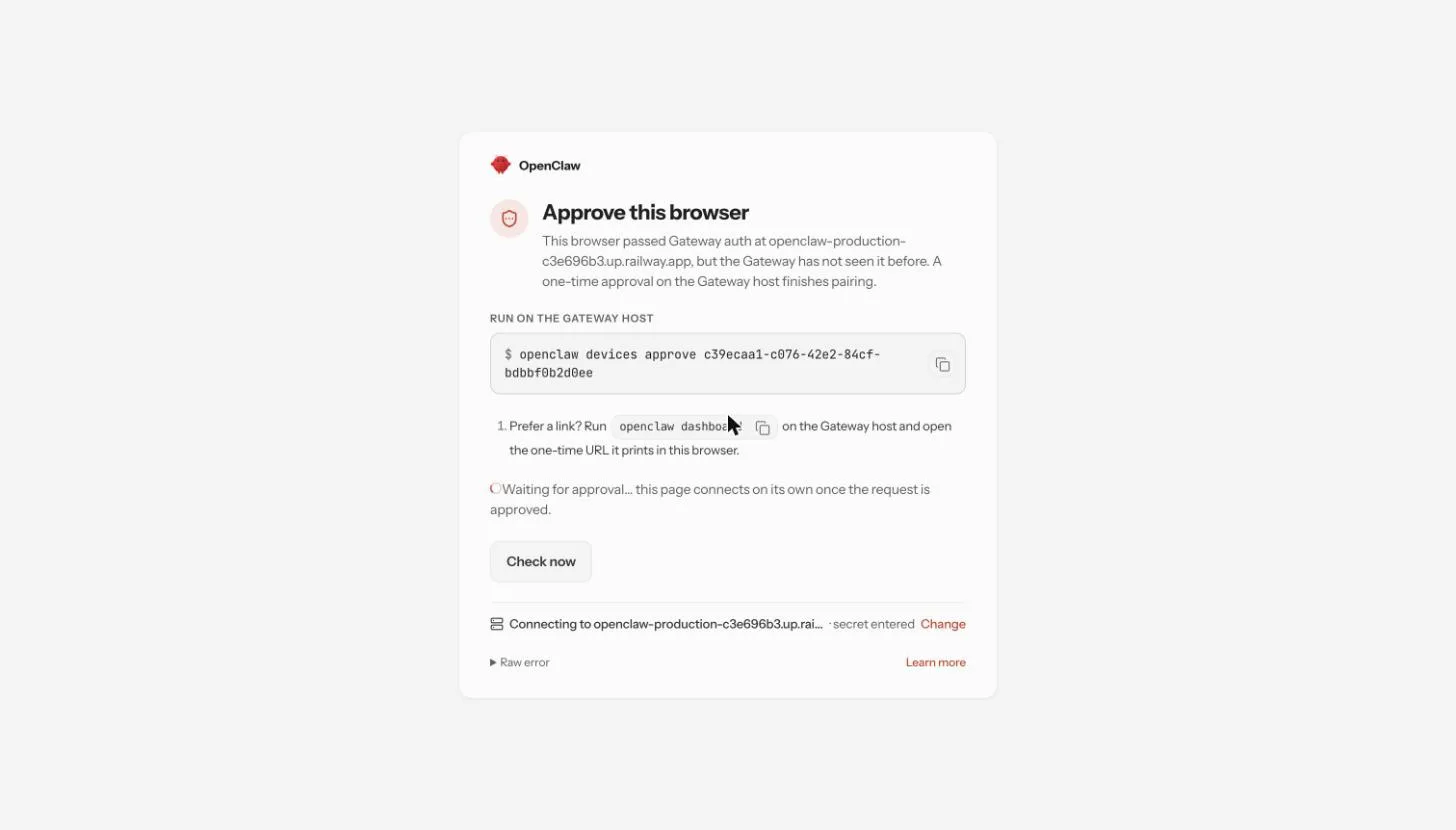
Open https://<openclaw_domain>/#token=<gateway_token>. OpenClaw asks you to approve this
browser once. Run the command it shows in the openclaw service's Console, with node dist/index.js in place of openclaw:
node dist/index.js devices approve <request_id>Keep the browser tab open while you do: the request expires when you leave the page.
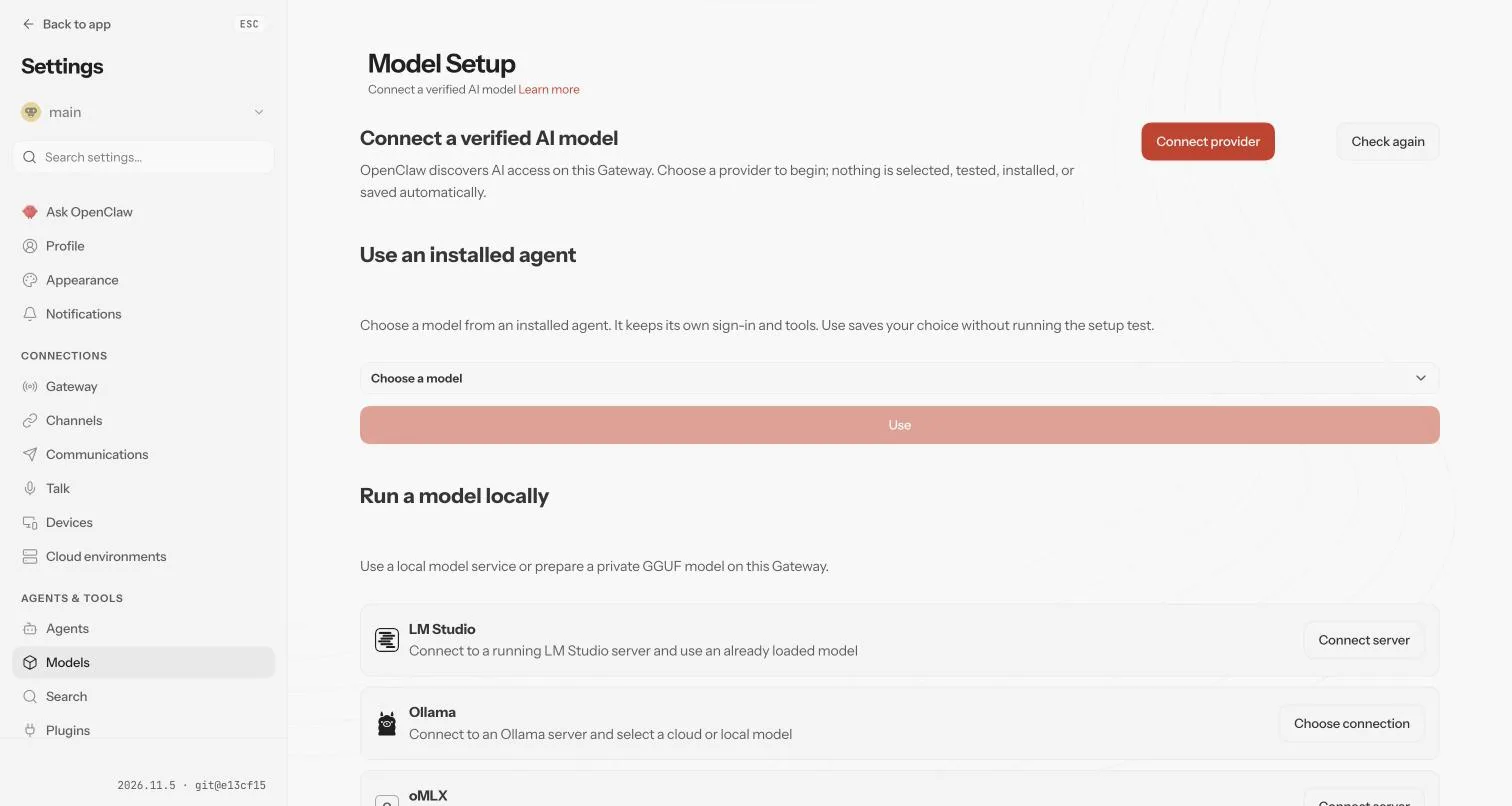
The Control UI then opens on Model Setup. Choose your provider and add your key.
Lock it down
A new firewall allows every site and logs it. In the panel, open Internet access and set
Every other site to Block, then allow your model provider's host, for example
api.anthropic.com. That rule holds for OpenClaw's own requests. A program that ignores the proxy
isn't covered, as the warning at the top says.
More agents, one firewall
To add another OpenClaw, create a third service the same way as Part 2, with its own volume, token and domain, and the same proxy variables and certificate. The panel then shows the traffic of both, and one set of rules applies to both.
Remove it
In the project's Settings, Danger, click Delete Project. That deletes both services and their volumes, the firewall's certificate authority with them.
Oracle Cloud
Deploy OpenClaw on an Oracle Cloud Always Free Arm instance behind the open-source ControlClaw firewall, with one cloud-init script.
Fly.io
Run OpenClaw on Fly.io with the open-source ControlClaw firewall as its proxy. Two Fly apps on one private network, and every request OpenClaw makes in the firewall's log.