DigitalOcean
Deploy OpenClaw on a DigitalOcean Droplet behind the open-source ControlClaw firewall, with one user data script.
A new DigitalOcean Droplet installs Docker, Node and ControlClaw from a user data script, then runs
npx controlclaw up --all. That starts the firewall and a new OpenClaw as two containers.
OpenClaw's container sits on a network whose only other member is the firewall, so every request
it makes, its shell commands included, goes through the firewall.
Create the Droplet
In the DigitalOcean control panel, click Create, then Droplets.
| Setting | Choose |
|---|---|
| Region | Any |
| Image | Ubuntu 24.04 (LTS) x64 |
| Size | Basic, 4 GB of RAM or more |
| Authentication | SSH key |
| Advanced options | Add Initialization scripts (free), with the script below |
#cloud-config
runcmd:
  - curl -fsSL https://get.docker.com | sh
  - curl -fsSL https://deb.nodesource.com/setup_22.x | bash -
  - apt-get install -y nodejs
  - npx --yes controlclaw up --all > /root/controlclaw-up.log 2>&1
Click Create Droplet. The script takes a few minutes after the Droplet boots.
You don't need to open any port except SSH. The panel and OpenClaw's Control UI listen on the Droplet's loopback, and you reach them through an SSH tunnel. If you add a DigitalOcean Cloud Firewall, allow only port 22 in.
Check the install
ssh root@<droplet_ip>
tail -n 20 /root/controlclaw-up.log
npx controlclaw status
Every line of status should start with ✓. If the log stops half way, run
npx controlclaw up --all again: it checks what is there and goes on.
Open the panel and OpenClaw
On your computer, open a tunnel to both:
ssh -L 8800:127.0.0.1:8800 -L 18789:127.0.0.1:18789 root@<droplet_ip>On the Droplet, print the panel's link and OpenClaw's:
npx controlclaw open
grep "Control UI" /root/controlclaw-up.log- Open the panel's link (
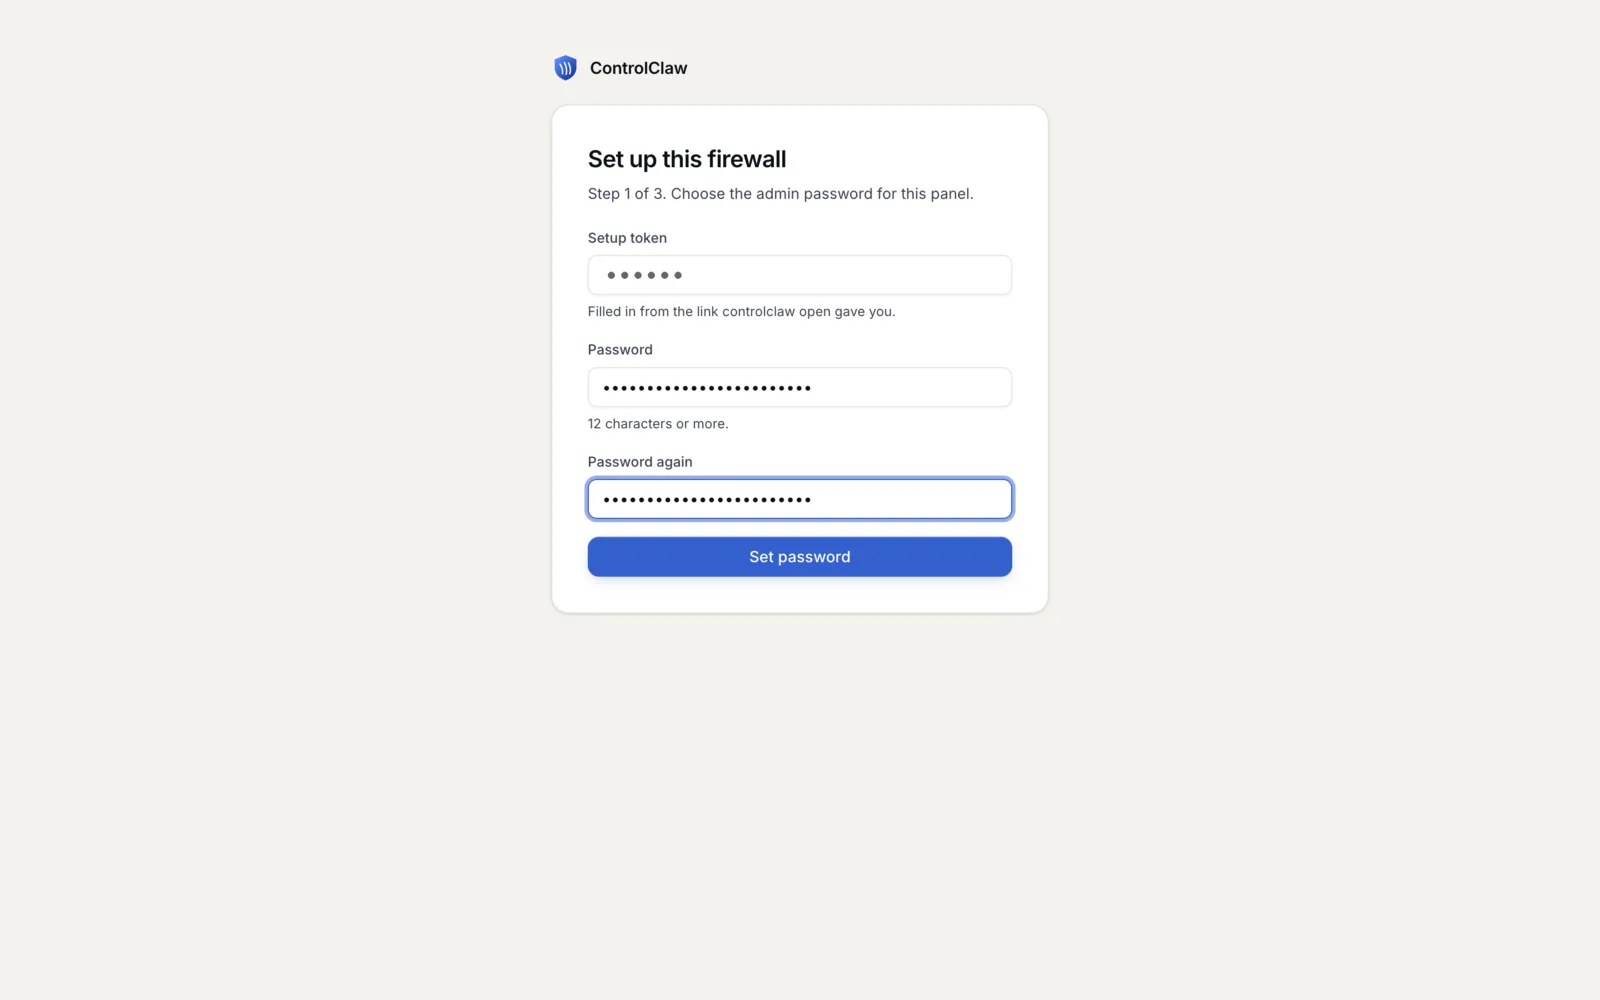
http://127.0.0.1:8800/#setup=…) and set the admin password. Until you do, anyone with that link can set it. - Open OpenClaw's Control UI link (
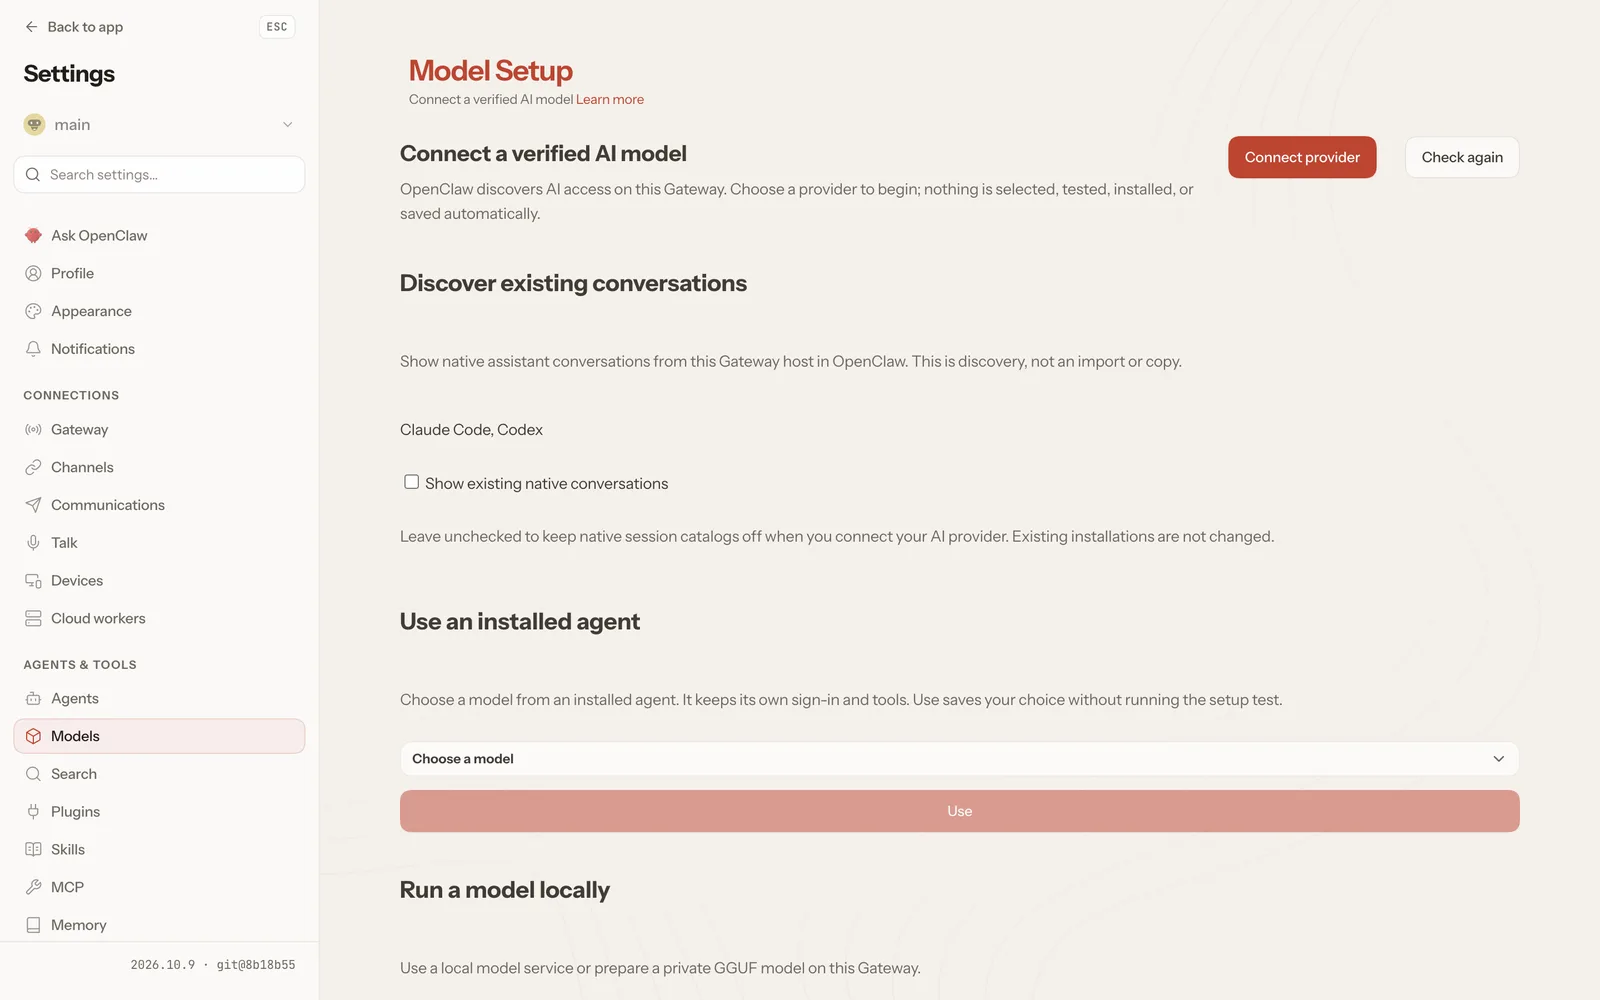
http://127.0.0.1:18789/#token=…). It starts on Model Setup: pick your provider and add your key. You can also add the key in the firewall's panel, so OpenClaw never holds it.
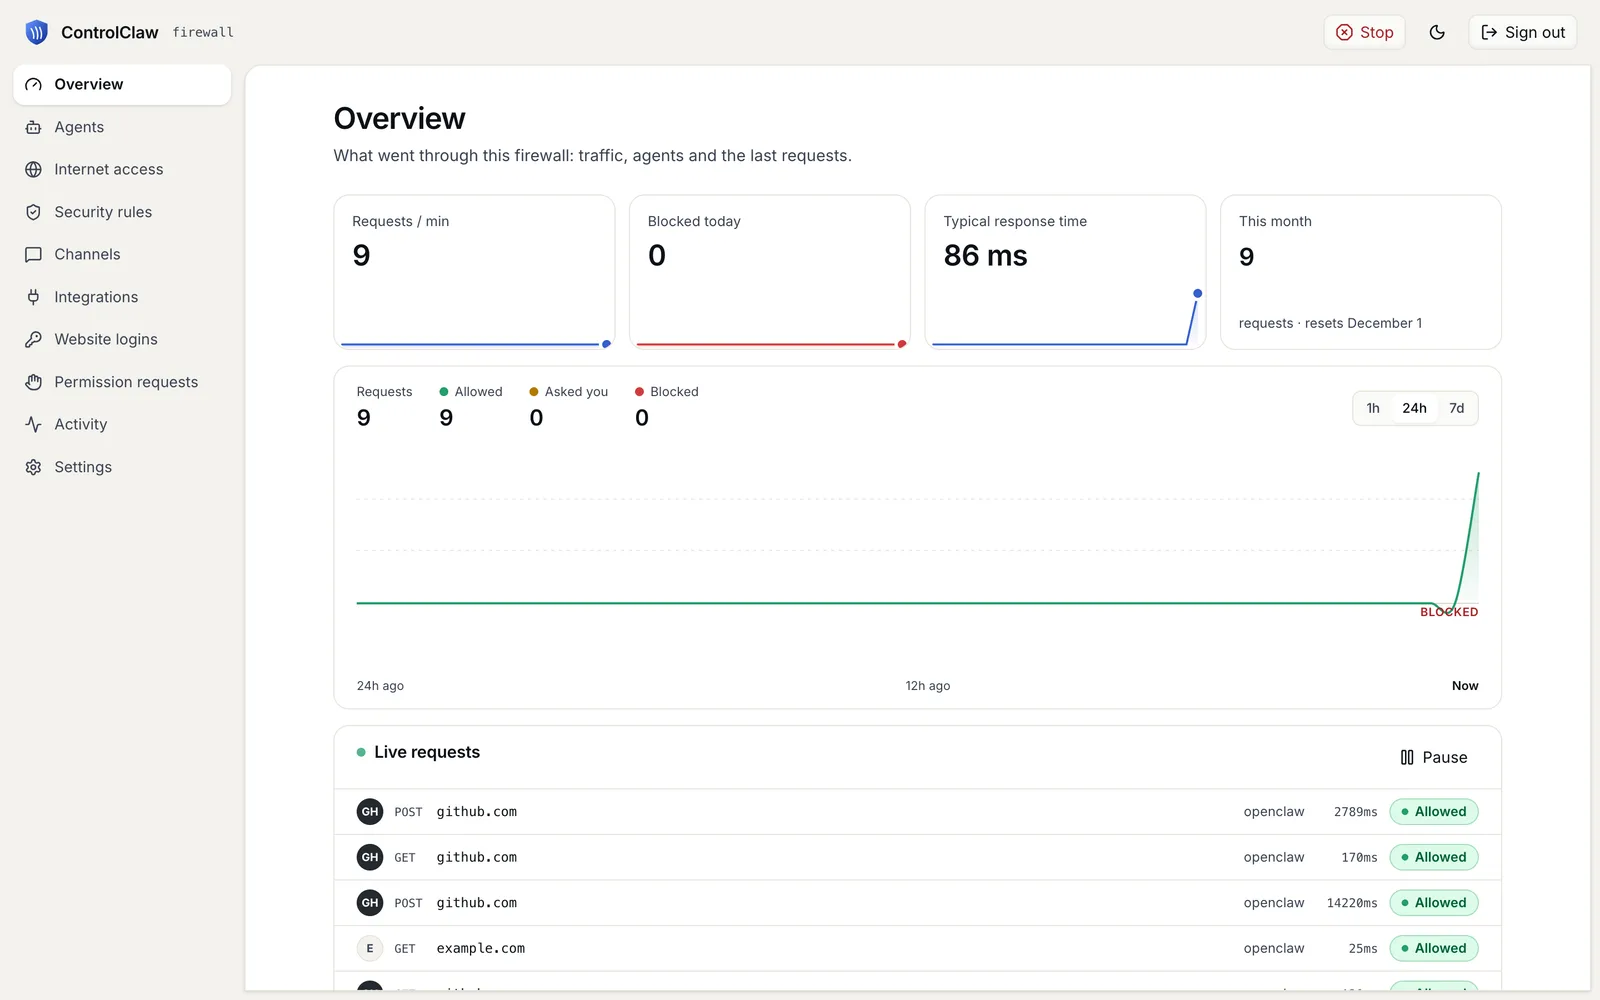
Ask OpenClaw something that needs the web. Its requests show in the panel's Overview, under the agent's name.
Lock it down
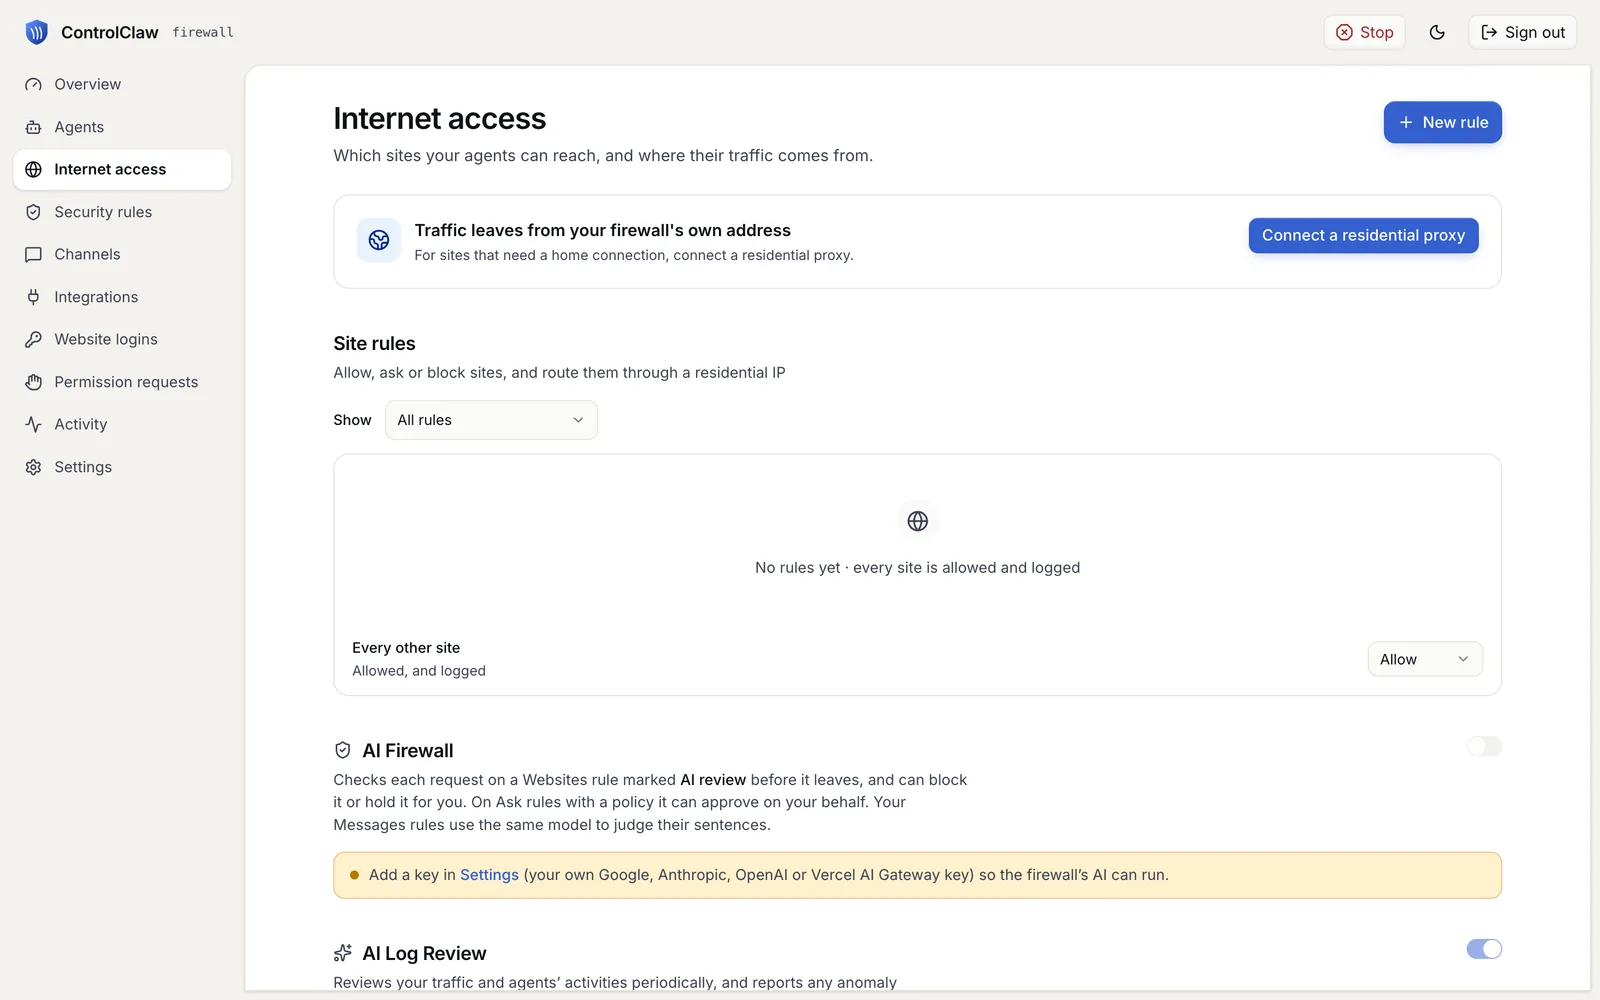
A new firewall allows every site and logs it. In the panel, open Internet access and set Every other site to Block. Keys and bots you add in the panel keep working, because the firewall adds a rule for each. A key you keep in OpenClaw needs its provider's host allowed.
Remove it
Destroy the Droplet in the control panel. To keep the Droplet and remove only ControlClaw:
npx controlclaw uninstall --purge, then docker compose -p openclaw down.